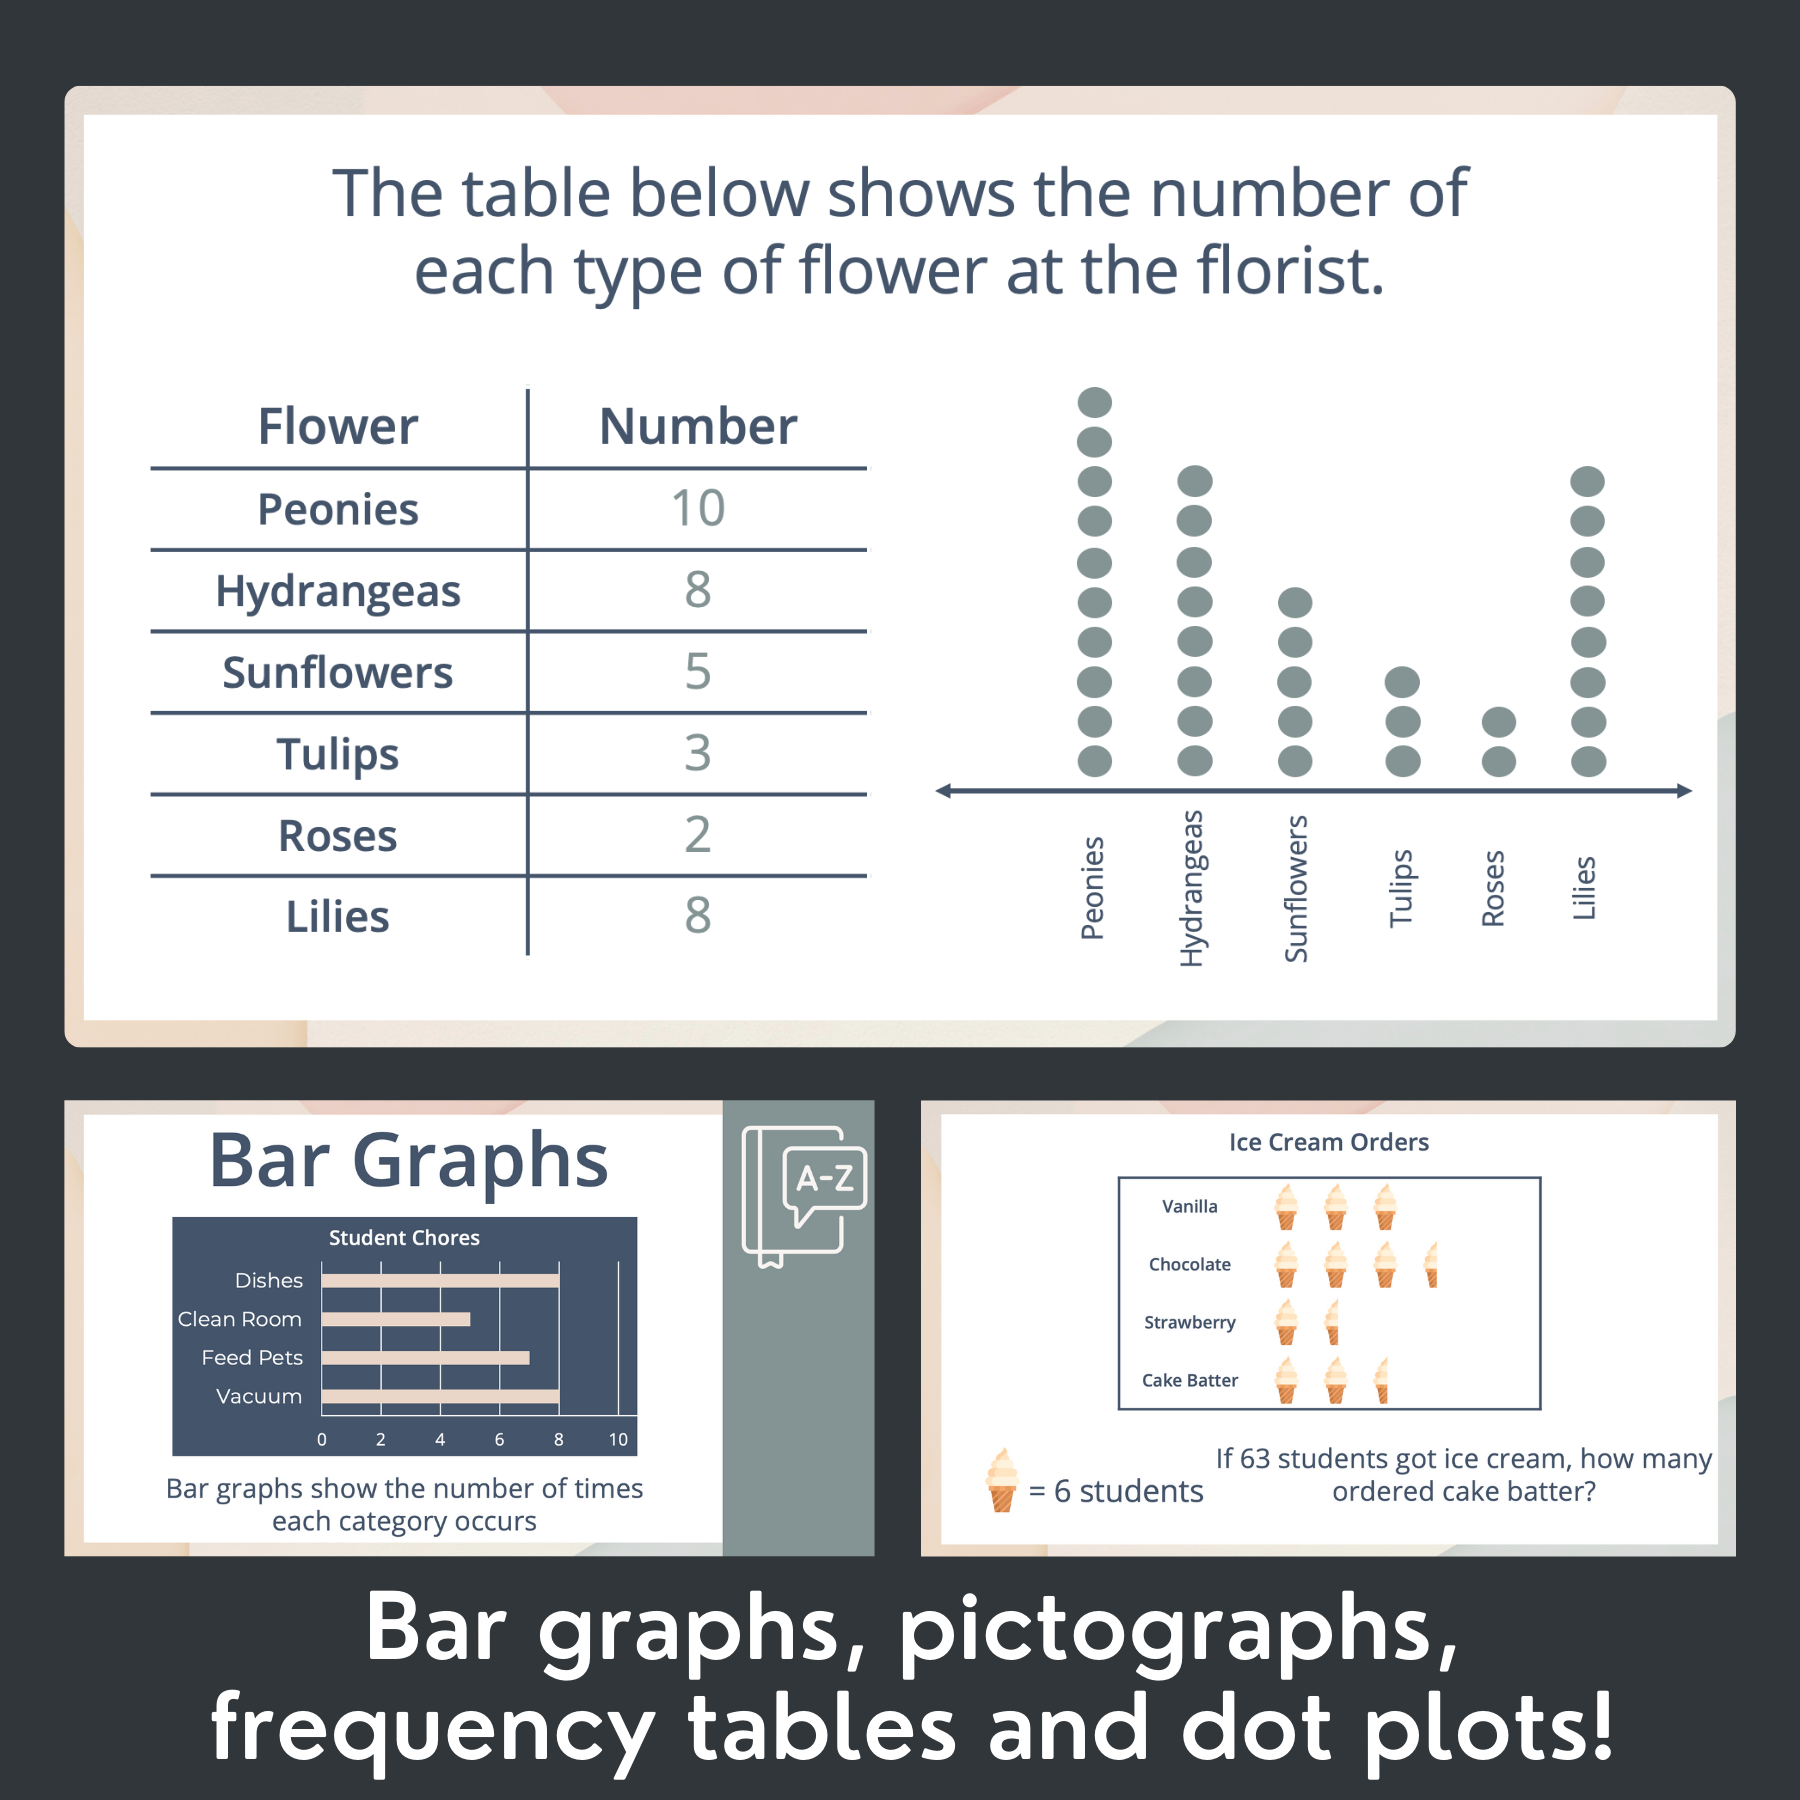
Data Analysis Powerpoint | 3 Lessons | 2nd & 3rd Grade

$12.00

This unit includes three interactive powerpoint lessons (38 slides & approx. 90 minutes of instruction). All slide decks are editable, allowing you to customize them to meet the specific needs of your students.

Topics covered:

  • Read, organize, and understand data represented in bar graphs, pictographs, frequency tables, and dot plots.

  • Solve one-step “how many more” and “how many fewer” problems using data represented in bar graphs, pictographs, frequency tables, and dot plots.

  • Make predictions from information given in bar graphs.

  • Vocabulary: Bar Graph, Categories, Dot Plot, Frequency Table, Pictograph, Scale

How to implement these lessons in your classroom:

  1. Instead of having worksheets to accompany these lessons, questions and checks for understanding have been incorporated throughout each presentation. Have students respond to these questions with expo markers on their mini whiteboards so you can quickly glance around the room and see who is understanding the content and who needs more support in a small group.

  2. Incorporate your students’ names and interests in each lesson. This is one of the main reasons why I chose to make each slide deck editable. It was one of the best feelings in the world watching my students’ faces light up with excitement when they realized the math problems were about them!

  3. Project the lessons on the whiteboard so that you can use an expo marker to show any additional work/demonstrations directly on the slides.

Lesson Preview